Quick start
Get up and running with OrgFlow in just a few minutes.
1. Sign up
Visit https://www.orgflow.app to sign up for a user account.
Creating a user account is free
Signing up is completely free and requires only a valid email address, a password, and your name.
Choose I want to register a new account and provide the required information. Your username is your email address.
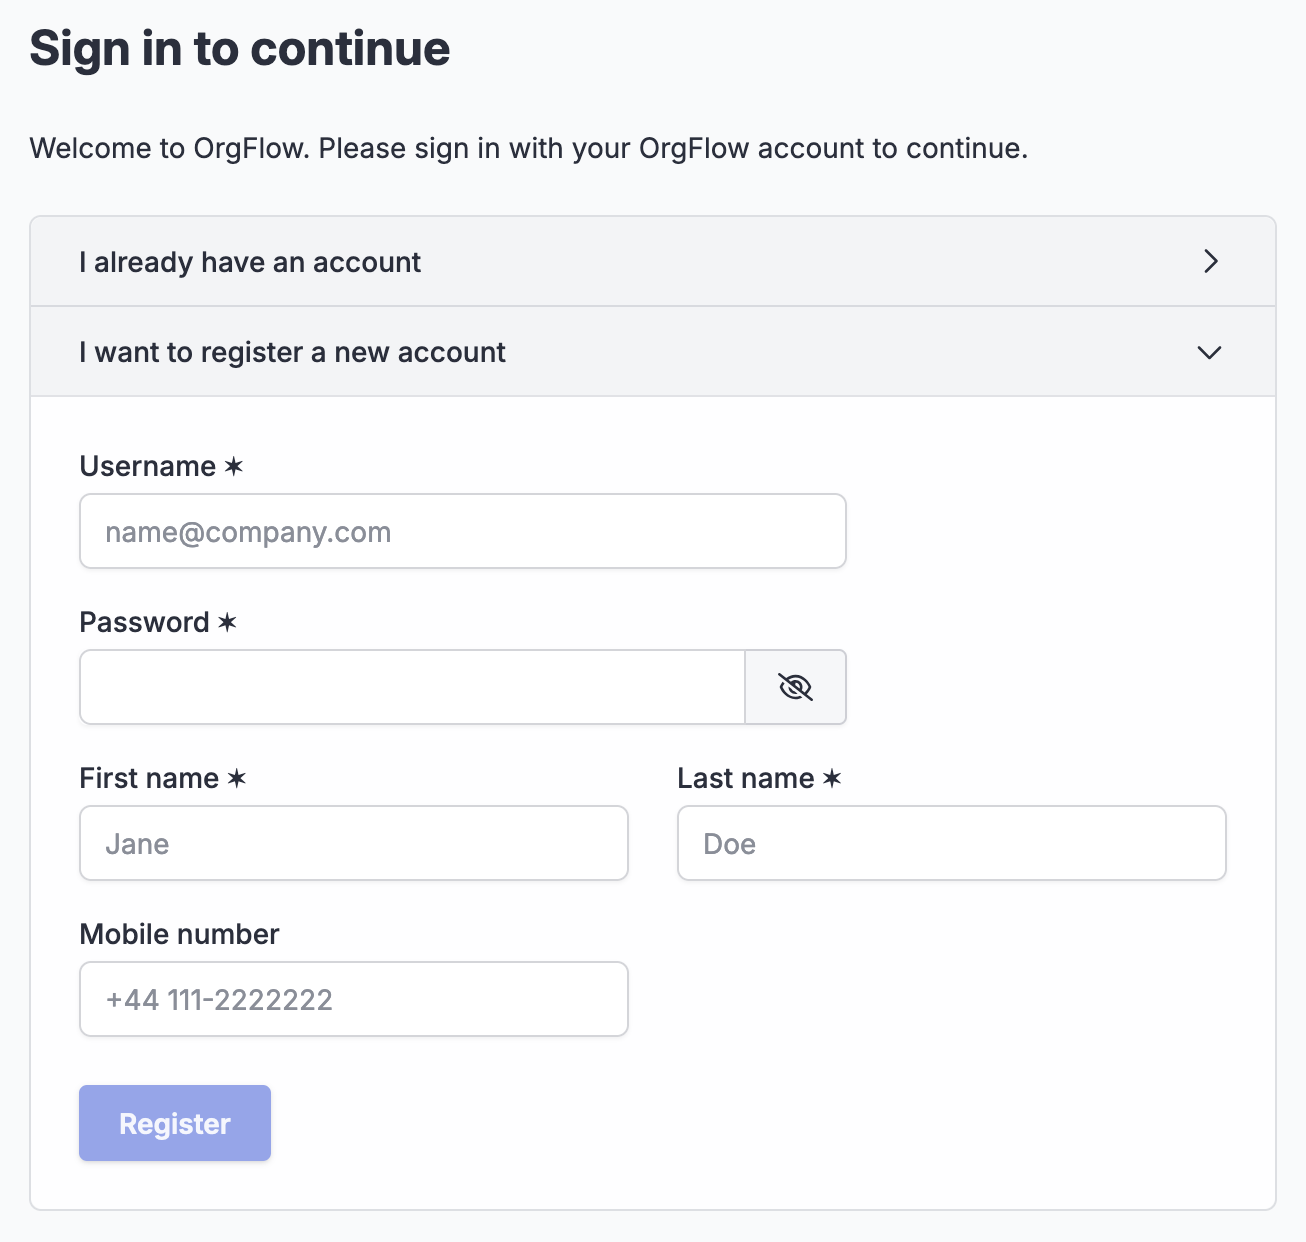
Use a valid email address
Ensure you use a valid email address to receive important messages from OrgFlow (such as password reset links, workspace invitations and alerts about failed jobs).
You only need a single user account no matter how many different teams and OrgFlow workspaces you work with. A user account is independent and can be a member of multiple workspaces. If you are an independent professional, consider creating your account using personal information so it's not tied to the organization you happen to be working with at the moment.
Once you have created your user account, sign in with your new credentials.
2. Connect to Salesforce
After signing in, you'll be prompted to connect to Salesforce.
OrgFlow needs to connect to your Salesforce environments to do things like manage sandboxes, retrieve and deploy metadata changes, and run Apex tests. If your Salesforce org has been configured to prevent signing in via https://login.salesforce.com, then you'll need to change the Salesforce sign-in URL to your "My Domain" instead. This is typically something similar to https://[company].my.salesforce.com.
Click Connect to start the connection process, then click Authorize. A Salesforce authorization flow will appear in a new browser tab. Complete the sign-in, authorize OrgFlow to connect, and then return back to the OrgFlow tab. It may take a few seconds before the OrgFlow UI updates to reflect the successful connection.
Choosing the correct Salesforce user
The Salesforce user that you choose to connect with needs sufficient permissions to be able to do the things that OrgFlow needs to do (via the metadata and tooling APIs). A user with the Modify all data permission will meet these criteria.
To get the most out of OrgFlow, you should connect to a Salesforce org that supports creating sandboxes.
3. Initialize
Once connected to Salesforce, OrgFlow is ready to initialize your workspace.
When you click Initialize now, OrgFlow will:
- Create a workspace for the company name you provide
- Create a playground stack in the new workspace
- Create a managed Git repository (and add you as a contributor if you provided your GitHub username)
- Start a job to commit your Salesforce metadata to the managed Git repository for the first time
- Queue jobs to create sandbox environments (if you chose to do so)
- Create some example schedules
Next steps
Congratulations - you are now up and running with OrgFlow!:
Here are some tips for what to explore next:
- Learn how to create and manage sandbox environments
- Grow your conceptual and architectural understanding of core concepts like workspaces, stacks and environments
- Learn about flowing metadata changes using OrgFlow